


How do I get started with the Transfr Dashboard?
Six steps from your invitation email to watching learner progress, with the full guide linked at each stage.
For: new Instructors and Admins setting up a Transfr Dashboard account for the first time
This is the path from your invitation email to seeing real learner progress, in six steps. Each step is one action, with a link to the full guide if you want more detail than you need right now.
Step 1: Sign in for the first time
Open the invitation email from Transfr and select the link inside it.
Note: That link stays active for 7 days from when it's sent, so sign in before then, or ask your organization's admin to resend it if it's expired.
The link opens the Create Account page, where you set a password, confirm it, agree to the terms, and select Sign Up. You'll land in the Dashboard signed in as yourself.
For every sign-in path, including SSO, see How do I log in to the Transfr Dashboard?
Step 2: Get oriented
Before you build anything, take a minute to look at what's in front of you. The left-hand navigation changes based on your role — an Admin sees more organization-level items than an Instructor, and only a Super Admin sees Orgs. The tiles on the landing page summarize activity across whichever products your organization uses, for the trailing 30 days by default.
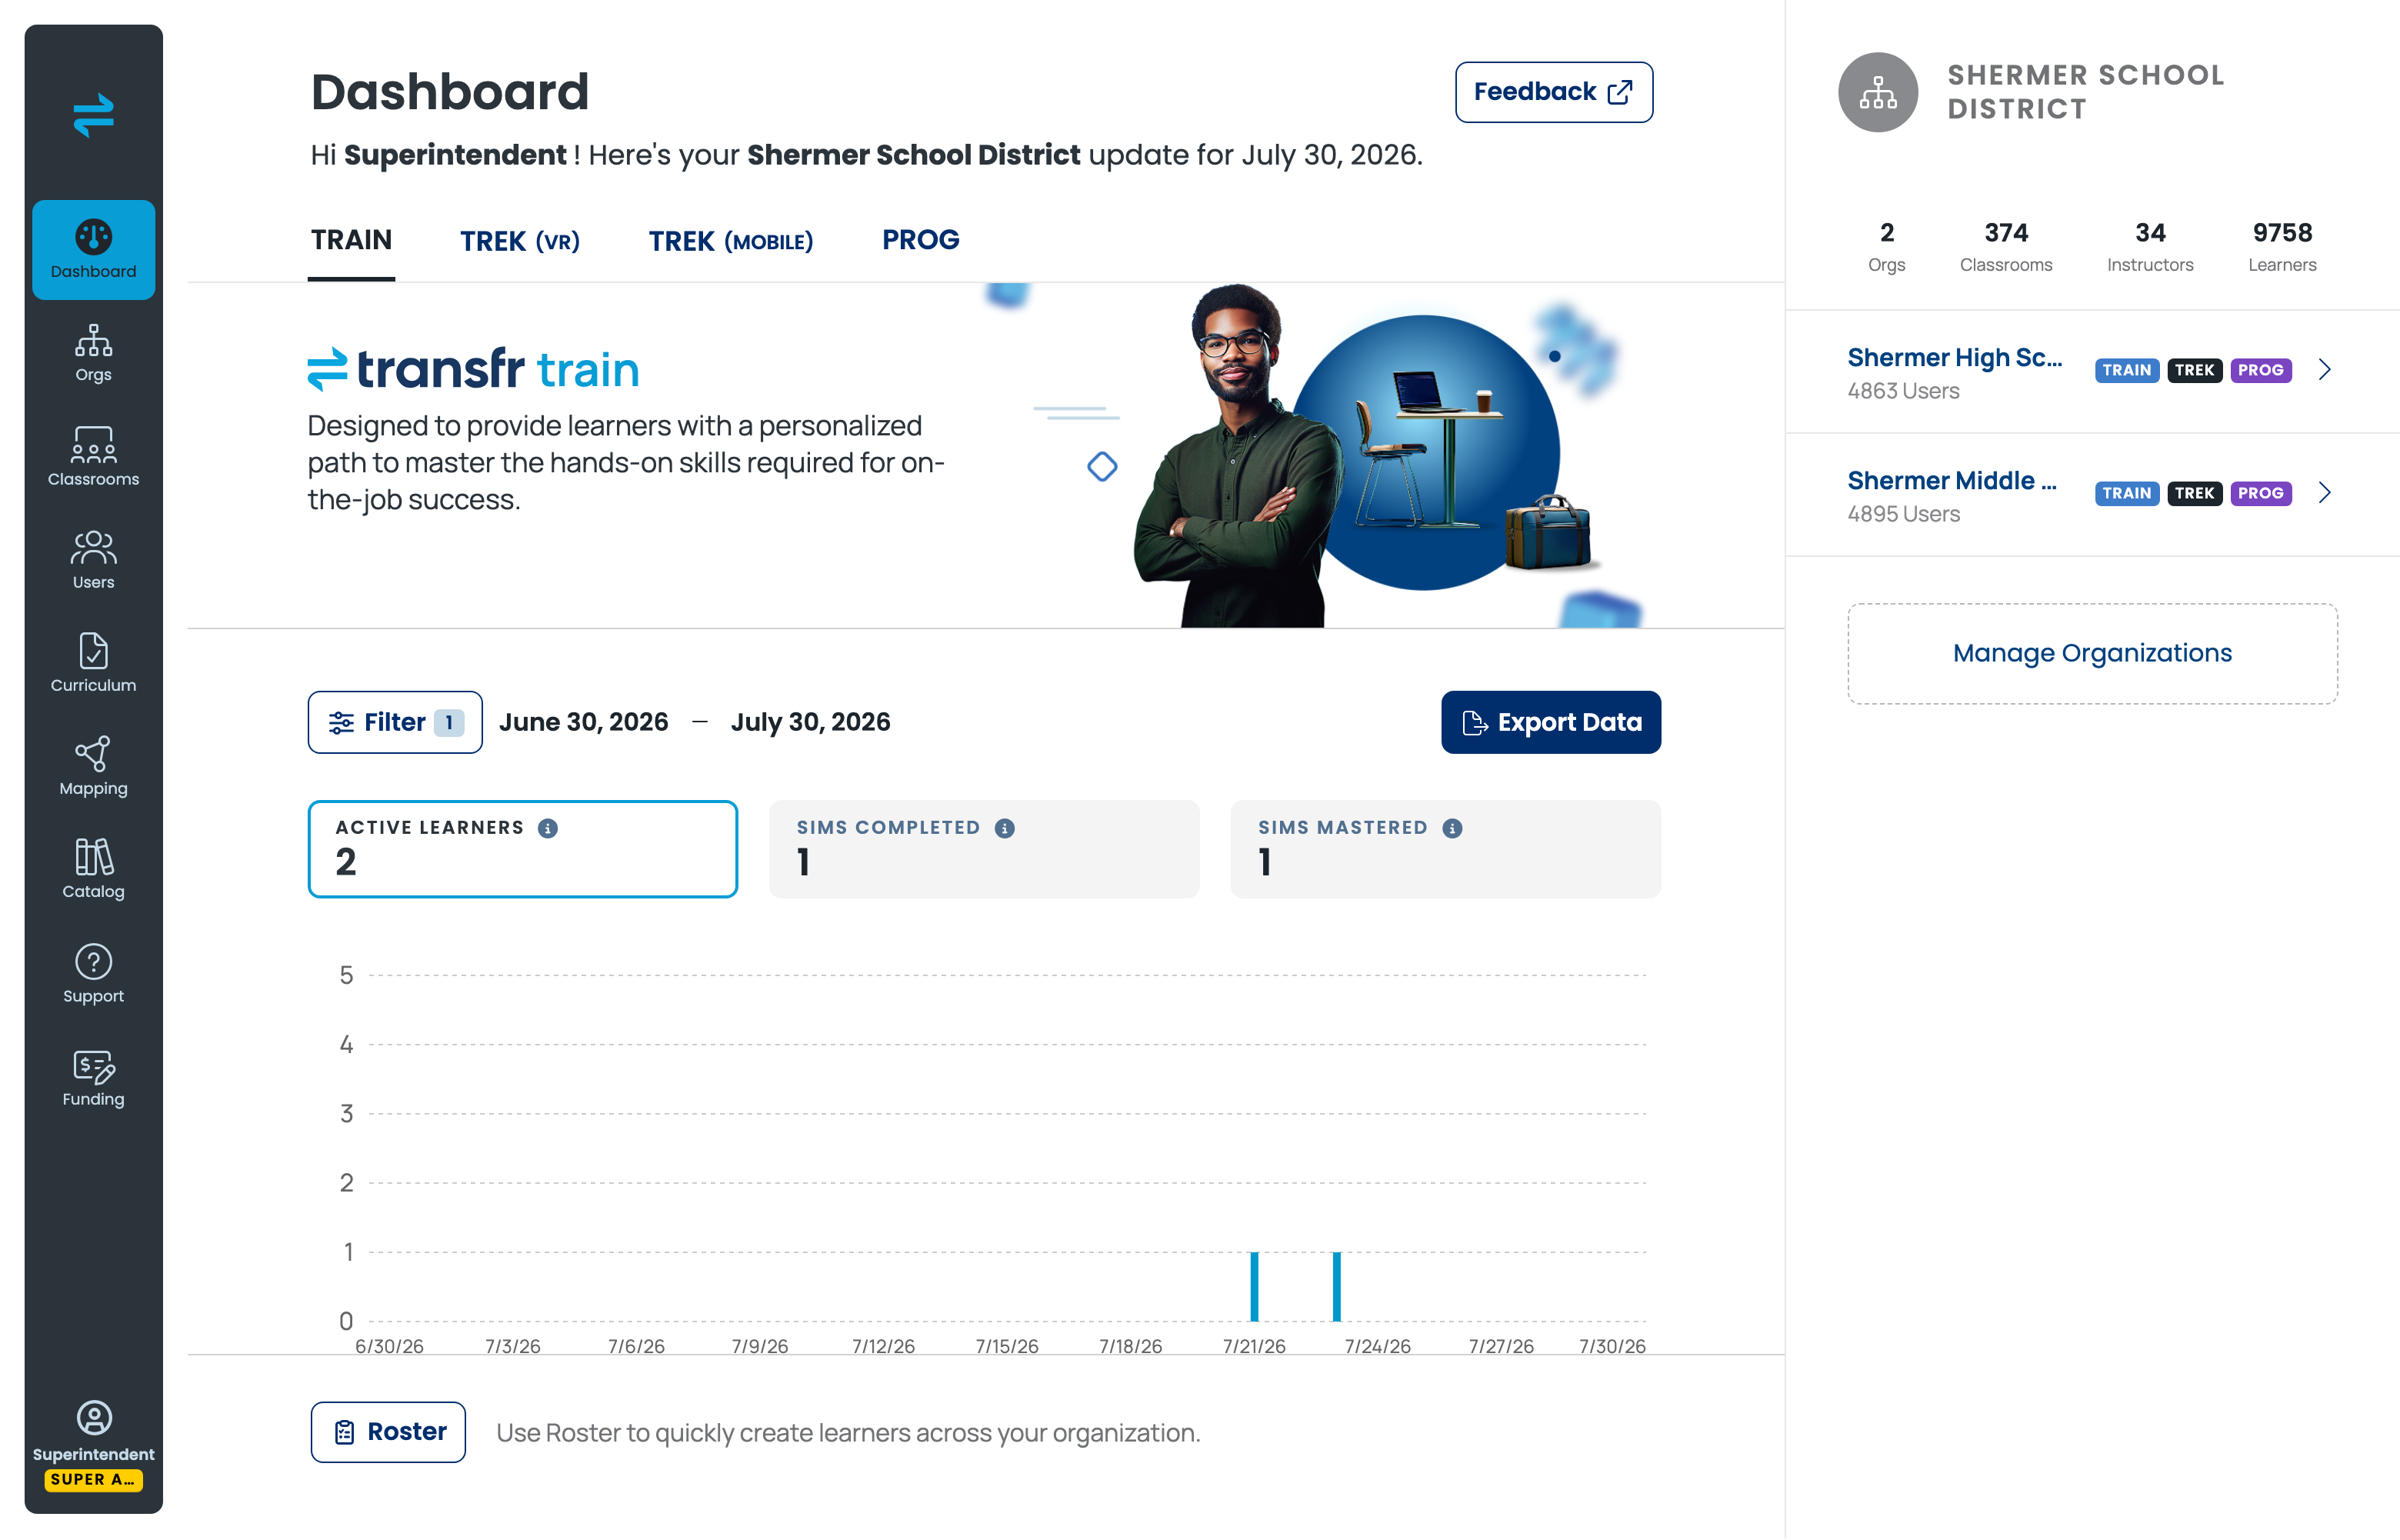
Treat this step as a look around, not a checklist. The Transfr Dashboard Guide covers what every nav item and tile does, in depth.
Step 3: Create your first classroom
From the left nav, go to Classrooms, then select the plus icon at the top of the list to open the Create Classroom dialog. Name the classroom, choose the product it will run, and save.
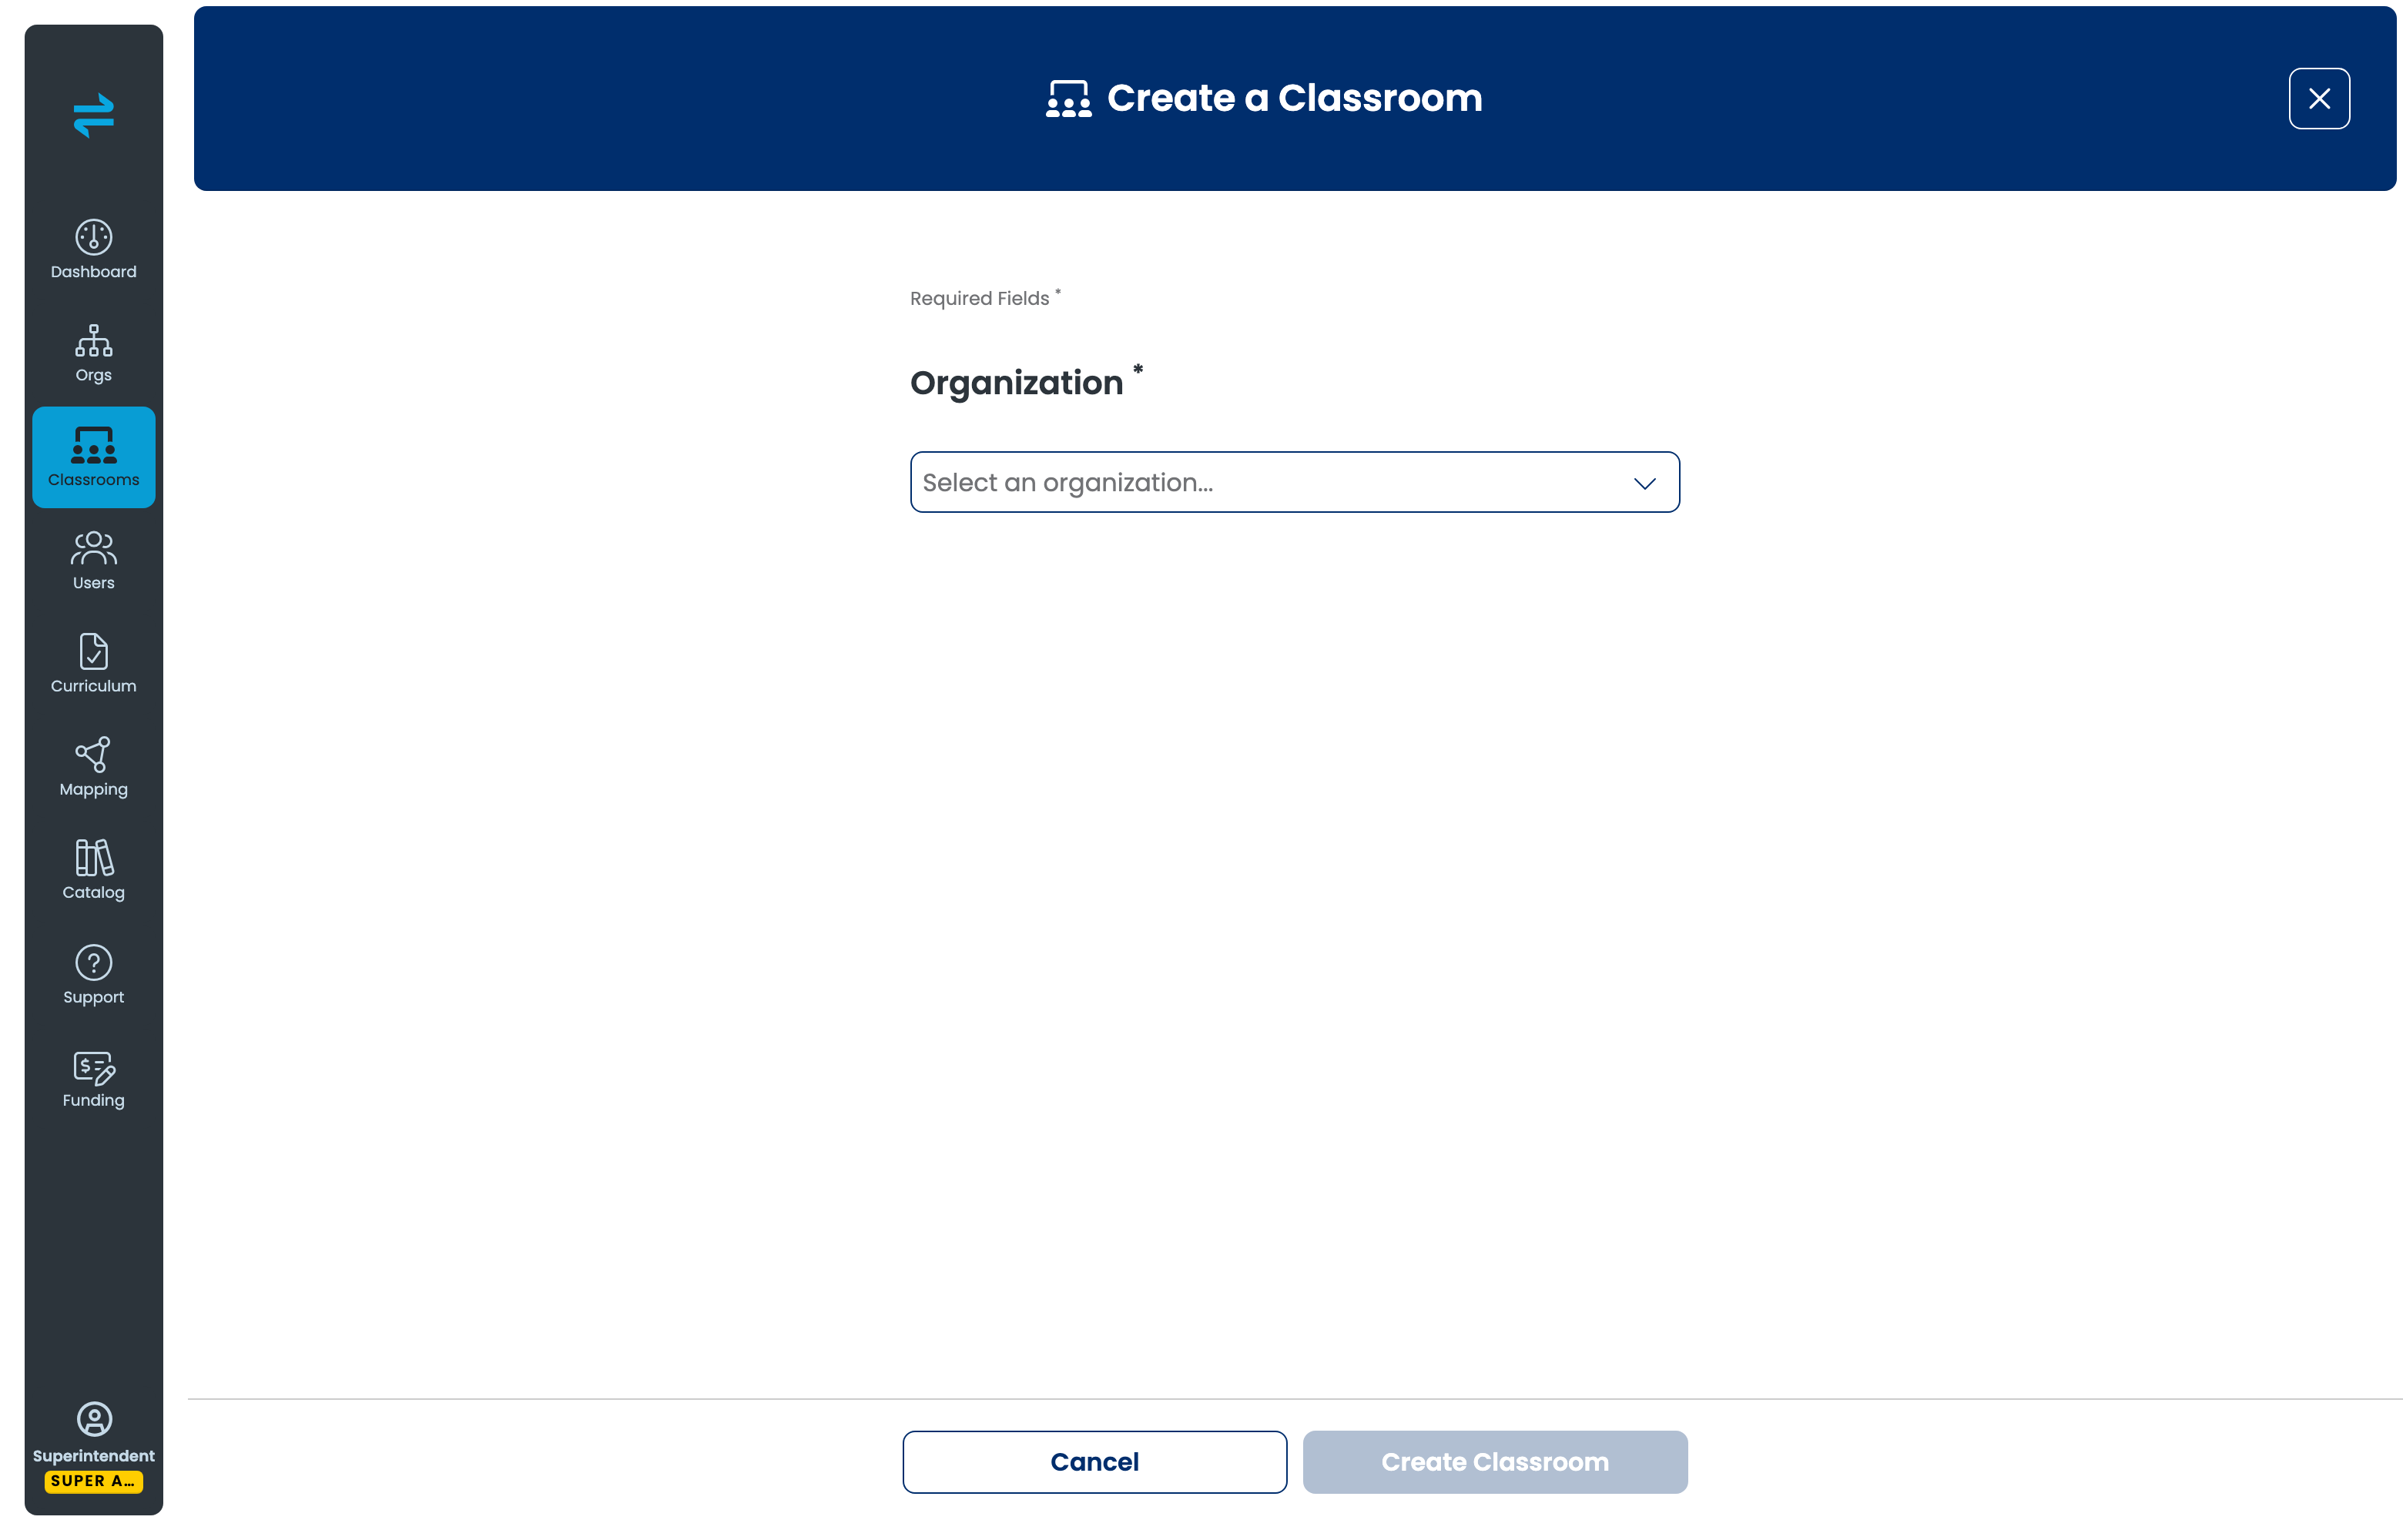
Once the classroom exists, note its code — codes can be four or seven characters, so don't assume the length — because your learners will need it. You can change the name or product later with the pencil icon in the classroom header, and the archive box icon next to it retires the classroom once you're done with it.
Creating a Classroom walks through every field in the dialog.
Step 4: Add your learners
Adding someone on a classroom's Learners tab only attaches a learner who already has an account — it doesn't create one. New learner accounts are created in Roster, on the Dashboard: add rows or import a CSV, fill in the required columns, choose the classroom from the code dropdown, and select Publish.
How do I add and manage learners? covers both the Roster panel and the classroom-level Add Learner control, and why you need both.
Step 5: Get your learners signed in on the headset
How learners sign in depends on which product the classroom runs. If you're not sure, check Is this Trek or Train? first.
For a Trek classroom, learners can sign in with a personal account, the classroom code, or a Sim Pass — see How do learners log in to the Transfr Trek app?
For a Train classroom, learners sign in with a username and password or a 5-digit Sim Pass; classroom codes don't work for Train. See How Do Learners Log Into Transfr Train?
Step 6: Watch their progress
Once learners start sessions, their activity appears on the classroom's Progress tab and rolls up into the Dashboard's reporting tiles. If the classroom runs Train or a Program, and you're signed in as an Instructor or Admin, a Preview tab lets you see the experience as your learners do — see How do I preview what learners see? for how that access is gated.
From here, the Data & Reporting Guide is where to go next for reading tiles, exporting data, and understanding what each metric means.
Related articles
- Transfr Dashboard Guide
- Creating a Classroom
- How do I add and manage learners?
- Data & Reporting Guide
Still need help?
Contact our support team — Monday–Friday, 8am–8pm ET, 646-466-2600, technicalsupport@transfrvr.com.
Last updated: July 30, 2026
